This video is from my YouTube channel-watch today

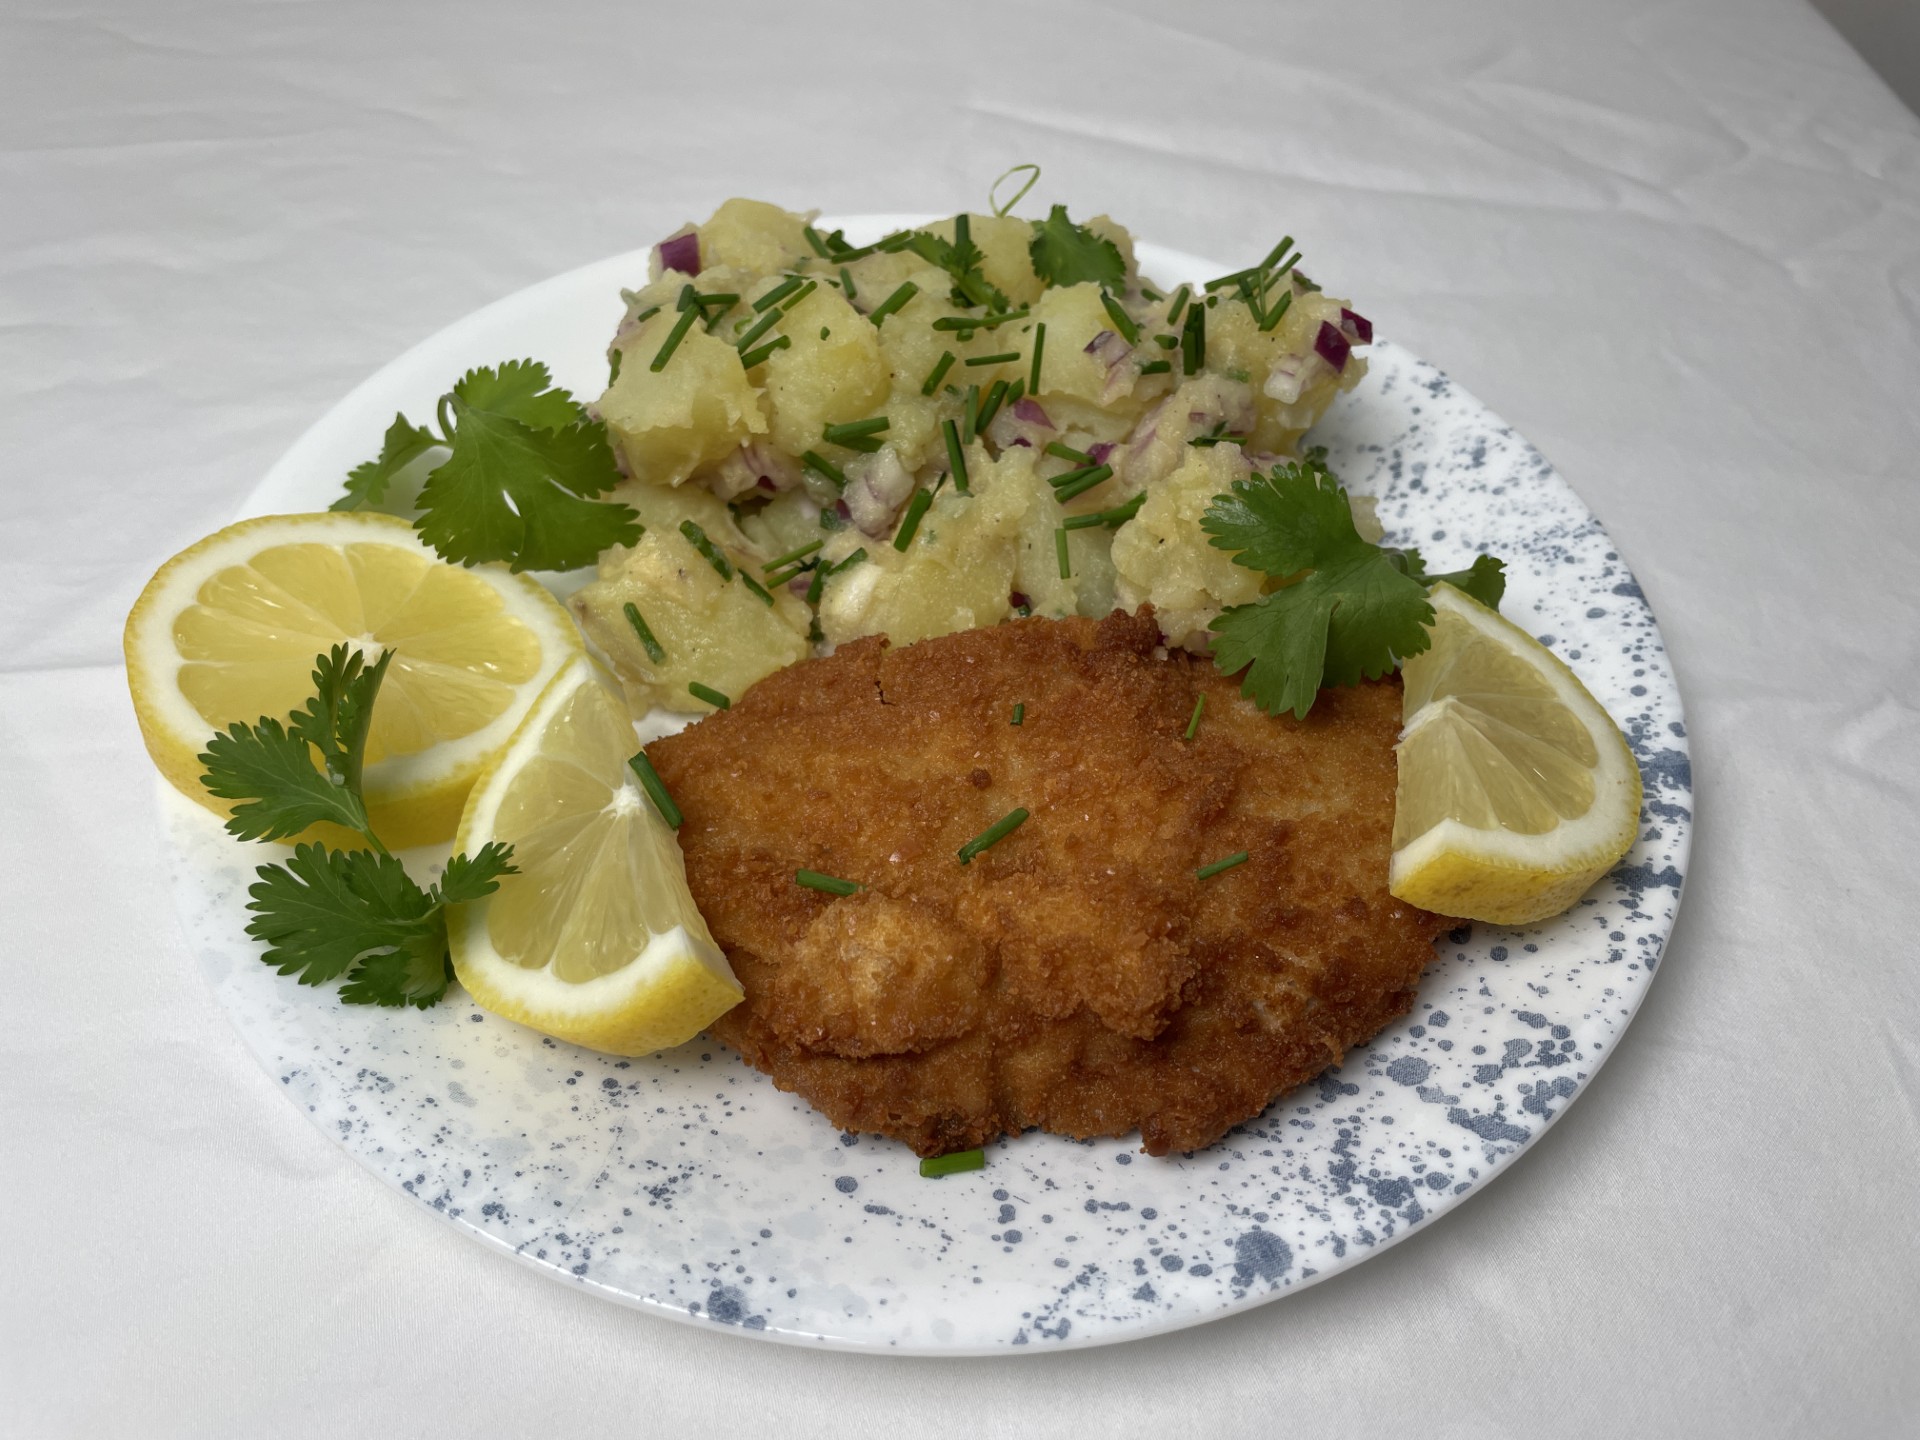
Authentic Wiener Schnitzel & Viennese Potato Salad (Erdäpfelsalat)
Perfect Wiener Schnitzel with Viennese potato salad
Ingredients
- 1 piece milk feed veal 106 g total
- 1 cup fine bread crumbs
- 1 cup AP flour for drendging
- 2 large eggs
- 1 pinch kosher salt
- 6 yellow potatoes medium size
- 2 tbsp white wine vinegar
- 1 tbsp dijon mustard
- 1/2 cup chicken broth
- 2 tsp white sugar
- 2 tbsp fresh chives
Instructions
- For the Erdäpfelsalat (Prepare first):Place cubed potatoes in a pot, cover with water and salt. Place reserved skins in a fine-mesh strainer submerged at the top of the pot. Boil until tender (approx. 15 mins). Discard skins and drain potatoes. Transfer to a baking sheet, sprinkle with 2 tbsp white wine vinegar, and cool. In a large bowl, combine potatoes with oil, mustard, onion, chives, stock, and sugar. Stir gently to release starch and thicken the dressing. Rest for 30 mins (up to overnight) before serving.
- Step-by-step breading process for the Wiener Schnitzel: How to fry Schnitzel – Pound cutlets between plastic wrap using a rolling pin until very thin. Prepare three plates: Flour, beaten eggs, and breadcrumbs. Dredge veal in flour (shake off excess), then egg (let drip), then breadcrumbs. Do not press the crumbs in too firmly! Heat canola oil to 400°F (200°C).Fry for 1-2 mins per side until golden and floating. Drain on paper towels. Serve immediately with lemon and Erdäpfelsalat.
This meal pairs nicely with a very cold Pilsener beer.
Video
Notes
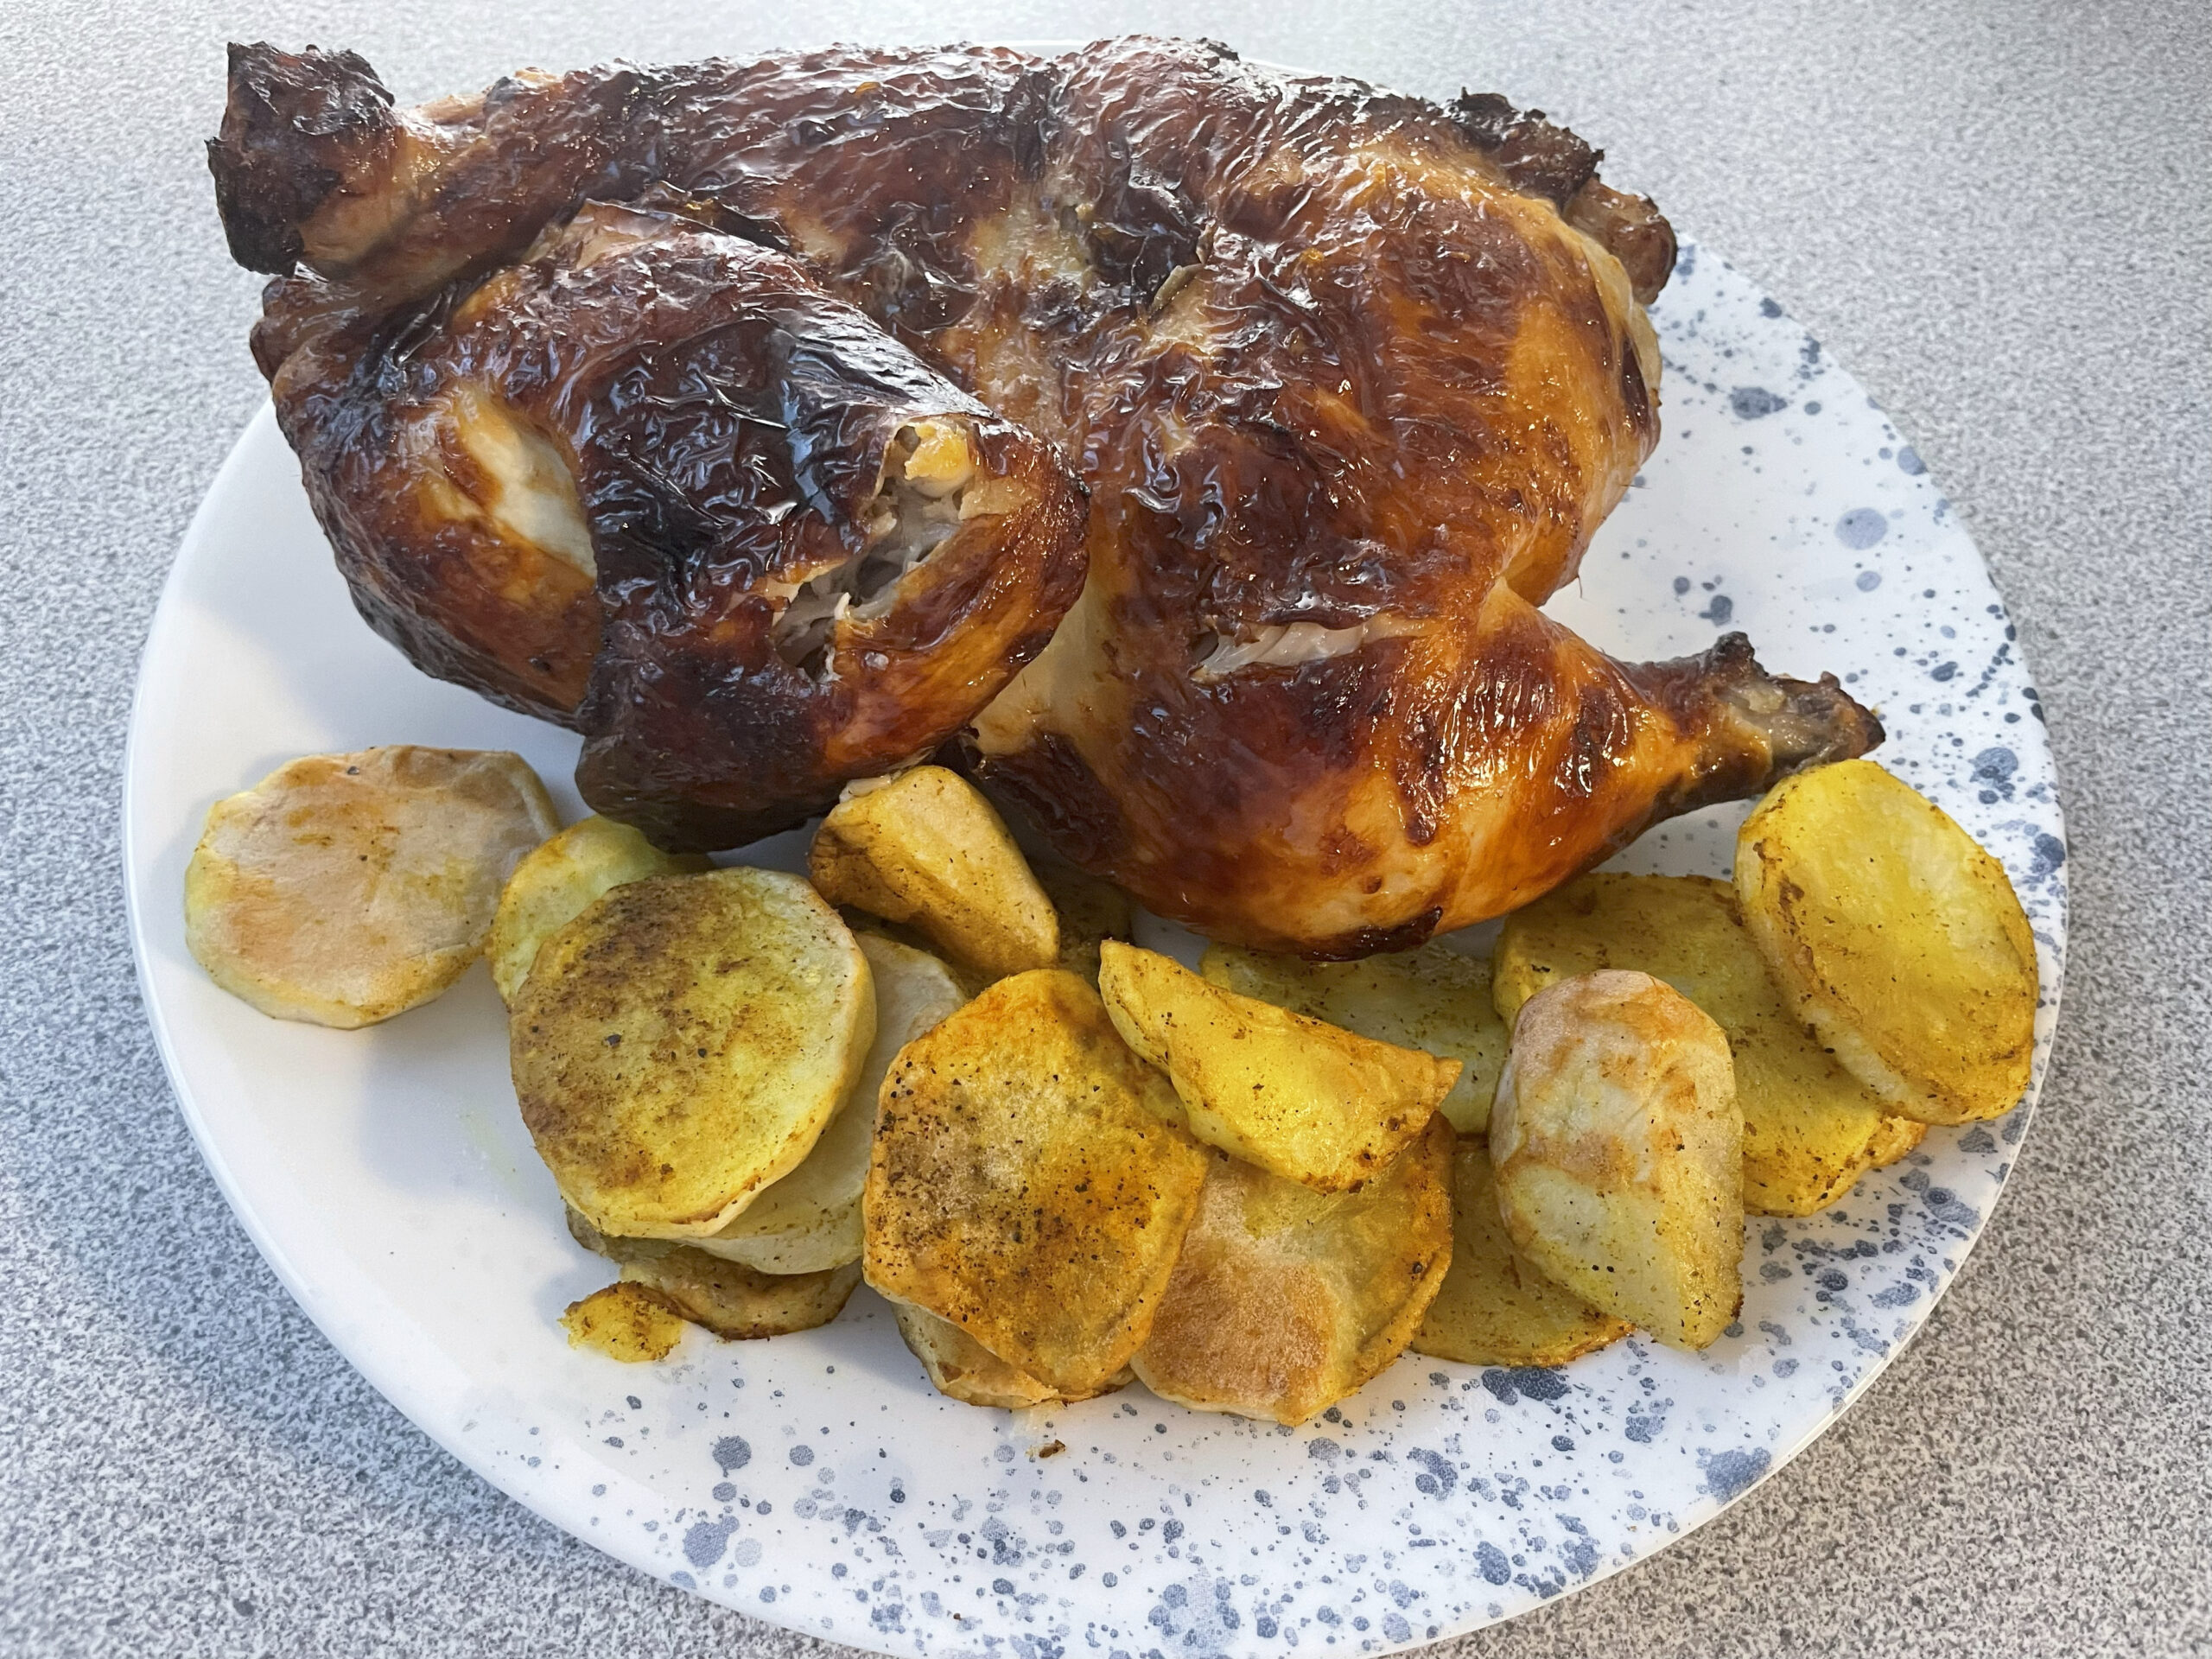
Buttermilk Marinated Roast Chicken
Using buttermilk and Kosher salt to make a brine that will tenderize your chicken to be super moist and delicious, while creating a beautiful brown outer skin using an Air Fryer
Equipment
- Air Fryer Best Method
- 1 Cast Iron frying pan optional
- 1 Ziploc bag (8 cup capacity) works best
Ingredients
- 1 half Chicken with skin on
- 4 fingers Kosher salt equals 1 tbsp
- 1 cup Buttermilk full fat or 1%
Instructions
- Start laying out a large piece of parchment paper or use a large plate. Ensure the chicken has bee rinsed off, then pat dry with paper towels.Use 4 fingers worth of Kosher salt and sprinkle some on the top, bottom and inside of the bird if you’re using a whole one.Now let it rest in your kitchen for 30 minutes.Place the ½ chicken in the marinading bag and add 1 cup of Butter milk.If you’re using a whole chicken and using a larger bag, use 2 cups of Buttermilk.Now add 2 tbsp of kosher salt, seal the bag, and massage the bag a bit and refrigerate at least 2 hours, but over night is best. The marinating chicken will stay fresh like this for 2 nights maximum.After marinating, have a large pan or plate with a cookie sheet rack, and place the chicken on top to drain, this should only take 5-10 minutes.There are 2 cooking methods, Ninja Foodi air fryer, or your oven method using a cast iron frying pan, if you don’t have this, use a baking dish.Air fryer method: place the chicken inside the frying basket and cook on “Roast” at 400F for 15 minutes, then turn it down to 375 for 15 mins. Turn the bird over and cook for another 10 minutes. Using a cooking probe ensure the internal temperature is 160F. If it isn’t cook it a bit longer in 5 min increments. When the chicken is cooked, the outer skin will golden brown. Save any juices at the bottom of the basket.Oven method: Ideally you should use a cast iron skillet, if not use anything that is oven proof. Preheat the oven to 425F. Once ready place the bird into the back left corner (I’m told that’s where it’s the hottest, set your timer for 20 mins.After that, turn it down to 400F and place it in the back right corner for 10 mins, turn the bird over.After the first 10 mins, turn the bird over again to finish with the breasts up.Using a cooking probe ensure the internal temperature is 160F. If it isn’t cook it a bit longer in 5 min increments. When the chicken is cooked, the outer skin will golden brown. Save any juices at the bottom of the pan.Take the cooked chicken out of the oven and let it rest for 10 mins, giving the proteins time to relaxNow enjoy your Tender, Moist, Delicious butter milk roasted chicken.This pairs well with your favorite side, but roasted sliced potatoes or sweet potatoes works well. Add a fresh tossed salad, and you’re in business.
Video
Notes
This recipe was tested using a Ninja Foodi Air Fryer with a half chicken and it turned out perfect. The oven should give you the same results.
You can also substitue with a whole chicken if you’re using an oven, and you could also use chicken breasts as well.
See my video on YouTube here : https://youtu.be/fSk0LdnKdJQ
More great recipes will be coming soon
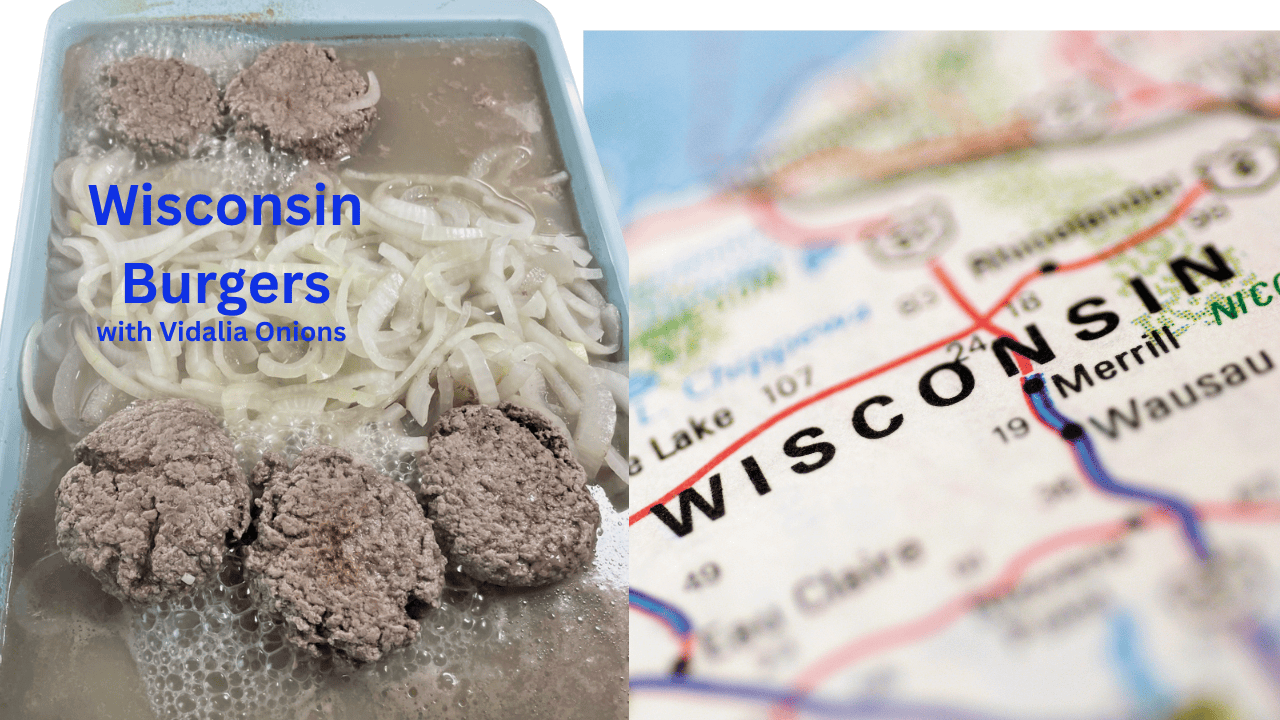
Wisconsin Boiled Hamburgers
🔥 Discover the viral hamburger sensation invented in Wisconsin, the Boiled Hamburger! 🍔💦 This unique Midwestern cooking method is taking YouTube by storm! Learn how to make juicy, flavorful, and unbelievably tender boiled burgers with Vidalia onions — Wisconsin-style. Perfect for Family get togethers in all seasons, tailgates, and comfort food fans. 🔥 Whether you're craving an easy ground beef recipe, regional American eats, or weird food trends that actually taste amazing, this is a MUST-TRY! 💥 Don't miss this EPIC burger hack — like, share, and SUBSCRIBE for more viral food content! #BoiledHamburgers #WisconsinFood #BurgerRecipe #FoodHacks #JuicyBurgersHealth INFO on the Vedalia onions and onions in general. After cutting or slicing onions and garlic as well, LET THEM REST FOR 10-15 mins. This allows the conversion of the compound "Isoalliin" which then converts to Allicin, a powerful antioxidant and bacterial agent. Onions are a natural anti-inflammatory plus many more benefits, plus boosting heart health, supporting digestive health, potentially reducing cancer risk, and improving bone health⚠️ WARNING: Watching may cause instant cravings.🎥 Whether you're a food lover, cooking newbie – this is your next must-try recipe!
Equipment
- 1 Oven proof sheet pan 10"x15"x1"
Ingredients
- 400 grams Lean hamburg Regular or Extra lean will also work
- 2 individual Vidalia onions use more for more hamburg
Instructions
- Start by peeling two Vidalia onions removing the outer skin, cut in two, then slicing them as thin as you like, then pulling them apart placing them in a bowlIf you're cooking this great meal on your stove top, you'll need a baking sheet that stretches over two burners on your stove top. Mine baking sheet is 10"x15"x1"Place the sliced Vidalia onions into the middle of the sheet pan and pour enough very hot water over them, but not coming too close to the sheet pan top. Turn on both burner to medium high.Using an ice cream scoop, fill it with enough raw Hamburg and form it into a ball, placing all the meat balls to the side on parchment paper.Now place each of the meat balls into the hot water on either side of the onions, and let the bottom start to get cooked.Once they look half cooked, turn them over and press them down to flatten each. You will see blood starting to ooze out from the top of the burgers, don't worry that will change as the burgers cook.Keeping an eye on the burgers, it is advisable to have a cooking thermometer to see when the burgers have reached an internal temperature of 160F, which is totally safe to eat.Depend on your stove and baking sheet, this cooking process can take 15-20 mins, all the while keep on turning the burgers and mixing up the onions with tongs.Serve them on the hamburger bun of your choice, I preferred to put the cooked onions into a small sheeve to drain most of the water so the burger bun wasn't soaked.The traditional way to each them is why hoarse radis sauce, I found a nice brand that was part Mayo. But if you prefer the usual mustard ketchup relish, go for it.
Video

Naan (The Best Recipe!)
Soft, puffy, and blistered—this naan recipe is foolproof!
Equipment
- 1 Cast Iron frying pan a regular fring pan or crepe pan will also work
- 1 bowl medium size
Ingredients
- 1/2 cup warm water 115F for optimal yeast rise
- 7 grams active dry yeast 8g package will be okay too
- 300-350 grams All purpose flour 10.5-12.5 oz equivalent
- 1/2 cup plain yogurt no flavour yogurt is a must
- 1 tsp sea salt
- 1 tbsp EVOO Extra virgin olive oil
- 1 tbsp Ghee Ghee is better than butter
Instructions
- Activate Yeast. In a small bowl, add the sugar,warm water, and yeast together. Stir to combine well. The yeast should beactivated when it becomes foamy, about 10 minutes. Transfer the flour to a large bowl and make a well in the middle.
- Making Naan Dough. Add the yeastmixture, yogurt, salt, and oil, and knead the dough until the surface becomessmooth and shiny, about 10 minutes. Cover the dough with a damp cloth and letit rise in a warm place (for example: beside the stove top or warm oven). Thedough should double in size in about 1 hour.
- Rolling Naan. Divide the dough into 8 equal portions. Roll the dough to an 8” (20cm) circle using a rolling pin
- Cooking Naan. Heat up a skillet (cast-iron preferred but a crepe pan is okay too) over high heat and lightlygrease the surface with some oil to avoid the dough from sticking to theskillet. Keep an eye on the naans, if they're getting too brown, turn down the heat. Place the dough on the skillet. When it puffs up and bubbles, andburnt spots appear, flip it over and cook the other side. Repeat the same untilall the dough is done. Brush with melted Ghee or butter, and serve warm
Notes
- This recipe is revised from the one on YouTube, but there isn't a video for this recipe just yet.
- The dough is sensitive to climate and temperature variations. Start with 300 g (about 10.5 oz or 2 1/4 cups) of flour. If the dough still feels sticky, gradually add up to 350 g (around 12 oz or 2 1/3 cups) until it reaches the right consistency.
- Knead the dough with your hands until it becomes smooth and elastic, or use a stand mixer to speed up the process. Then, let it rest until it doubles in size. Please take note that in warmer climates, naan dough may rise faster due to more active yeast, while in cooler climates, it may take longer to rise.
- Make sure to use a very hot skillet to cook the flatbread. The high heat puffs up the bread for that iconic airy appearance. It’s done when burnt brown “blisters” or spots appear (see photo above). In hotter climates or kitchens, it may cook faster due to higher temperature, leading to quicker browning and potential charring.
- Brush the fresh-off-the-skillet bread with some melted salted butter or ghee, and top them with fresh cilantro.
- , , , , , , , , , , , , , , , , ,